This article assumes that you have already successfully registered for and received a set of client credentials for integrating the LeoAdventures API. If you have note please use this form to do so. Assuming you have done this it is time to install and setup your LeoAdventures Cart Discount app using the following steps. The video posted below should also be helpful in implementing your solution.
Step 1: Install the LeoDiscount Shopify App from the Shopify App Store
The App is not yet public. Information will be posted here when the app is verified by Shopify.
Step 2: Configure Client Credentials
Once you have installed the app make your way to the app settings page by clicking Apps in the sidebar of your stores admin dashboard and then clicking the LeoAdventures Cart Discount in the apps list.

This should take you to the Client Settings page in your app.
Here you will be prompted to enter your Client ID and Client Secret given to you by LeoAdventures when you registered your client. After this click the Save Settings button.

These credentials are then saved and you are able to continue by setting up the frontend integration components.
Step 3: Integrating Front End Components
You will notice that just below the client credentials section on the Client Settings page there is a section titled Theme Integration. This app attempts to automatically embed the LeoAdventures Discount button on the cart page with minimal (or no) code required. Assuming your theme is written according to typical Shopify theming practices you should not run into any issues. Should you run into any issues please click here, with help in editing your themes template files to allow for proper integration of the LeoAdventures Discount button.
Begin by changing the Integrate Front End Components? option to “Yes.”

Upon doing this you will be presented with the option of what button style you would like.

After choosing which style you would like to display on the frontend you are good to click the Save Settings option in order to confirm your choice.
After this navigate to your cart page on the frontend of your site. Please make sure you have an item in the cart. If you are not seeing your button on the frontend cart page then you may need to use Appendix I later on in this article to help with that.
Step 3.1: Custom Button CSS
After viewing your page on the front end of the site you may want to change some of the ways the button is displayed. This can be done by using the Button CSS setting.
The button classes can be edited using the following css selectors
//Button Container Class
.leo-button-holder{
   //Style here
}

//The Button Itself
.leo-button-holder .leo-discount-button{
   //Style here
}

//The Button Prompt
.leo-button-holder .leo-discount-prompt{
   //Style here
}
The application is now embedded on the front end and you are able to continue configuring the cart discount amounts for each LeoAdventures Membership Level.
Step 4: Configure Cart Discount Amounts
In order to configure the cart discount amounts for each LeoAdventures Membership Level simply enter the Amount of the discount and the Type of discount for each membership level and click the Save Settings button.

Amounts and Types
There are two different types of discounts…
- Percentage (%) – Will discount the entire cart by percentage equal to the amount provided. In the example above a $200 cart will be discount 5% for Leo Hero Member Level users resulting in a total cart discount of $10 making the cart total $190.
- Fixed Amount ($) – Will discount the entire cart by a fixed dollar amount equal to the amount provided. In the example above the Leo Hero MVP Level users would receive $7 discount on the entire cart no matter the price of the cart. If the cart total were $200 before the discount the cart total would now be $193.
This should be the final step and you should now be able to fully utilize your plugin for discounts. If you are not seeing your button on the frontend cart page then you may need to use Appendix I later on in this article to help with that.
Appendix I: Integrate Code Manually into Shopify Theme if Needed
If you are not seeing the LeoAdventures button in on your cart page then we need to add a piece of code to your Shopify theme template file. This can be done by doing the following.
Appendix I – Step 1: Navigate to Your Theme Code Editor
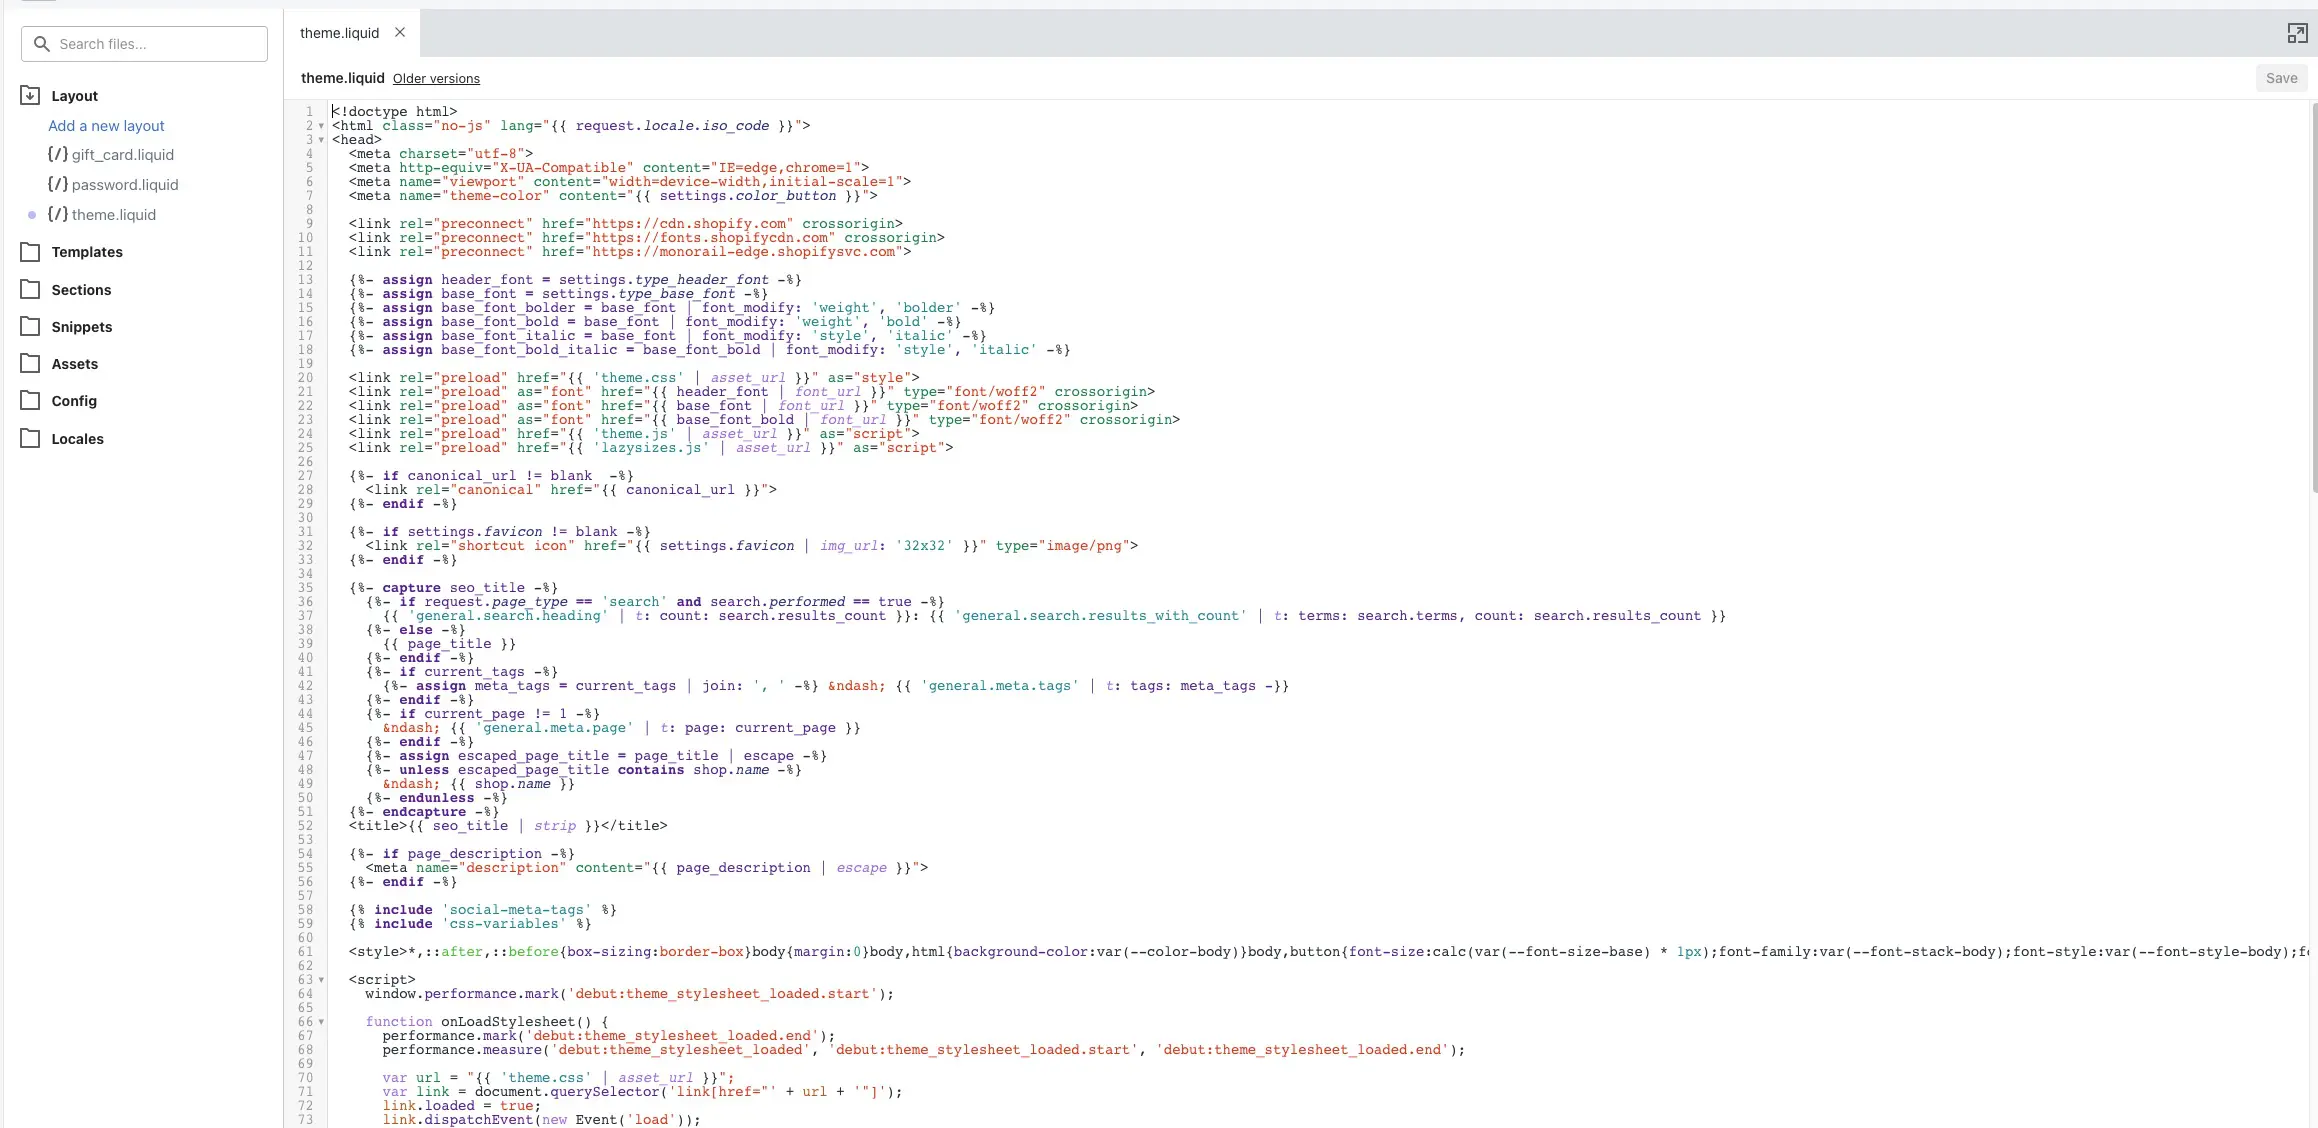
The first thing you need to do is to navigate to the theme editor in the Shopify dashboard. In order to do this please click Online Store > Themes on the left hand navigation bar of your dashboard.
You will be presented with this screen.

After this please click the Actions dropdown button in the upper right corner and click Edit Code from the dropdown menu. You will now be in the code editor.
Appendix I – Step 2: Edit the cart.liquid File
Next you will need to navigate to the cart.liquid file found under the Templates directory on the left hand navigation bar of the code editor. Click the file to open the code.
Next click cmd+f (ctr+f for windows) in order to do a search in the code editor. Type in the word “form” and hit enter. Keep hitting enter until you find a piece of code that looks something like this.
<form action="{{ routes.cart_url }}" method="post" novalidate class="cart">Depending on your themes programming the form action parameter or class parameter may be different. Simply make sure that it has the checkout button between the form tags and that is the right block.
Scroll through that block until you find the checkout button. On a properly coded Shopify theme it will look something like this.
<button type="submit" name="checkout" class="btn cart__checkout">{{ 'cart.general.checkout' | t }} <span class="icon icon-arrow-right" aria-hidden="true"></span></button>Just underneath this piece of code place the following.
<div class="leo-discount"></div>After this save your template file by clicking Save in the top right corner of the screen.
NOTE: In order for this to fix your frontend integration problem you must have the Integrate Front End Components? option set to “yes.”
After this is done your problem should be resolved. If that is not the case then please contact us here for more help.